

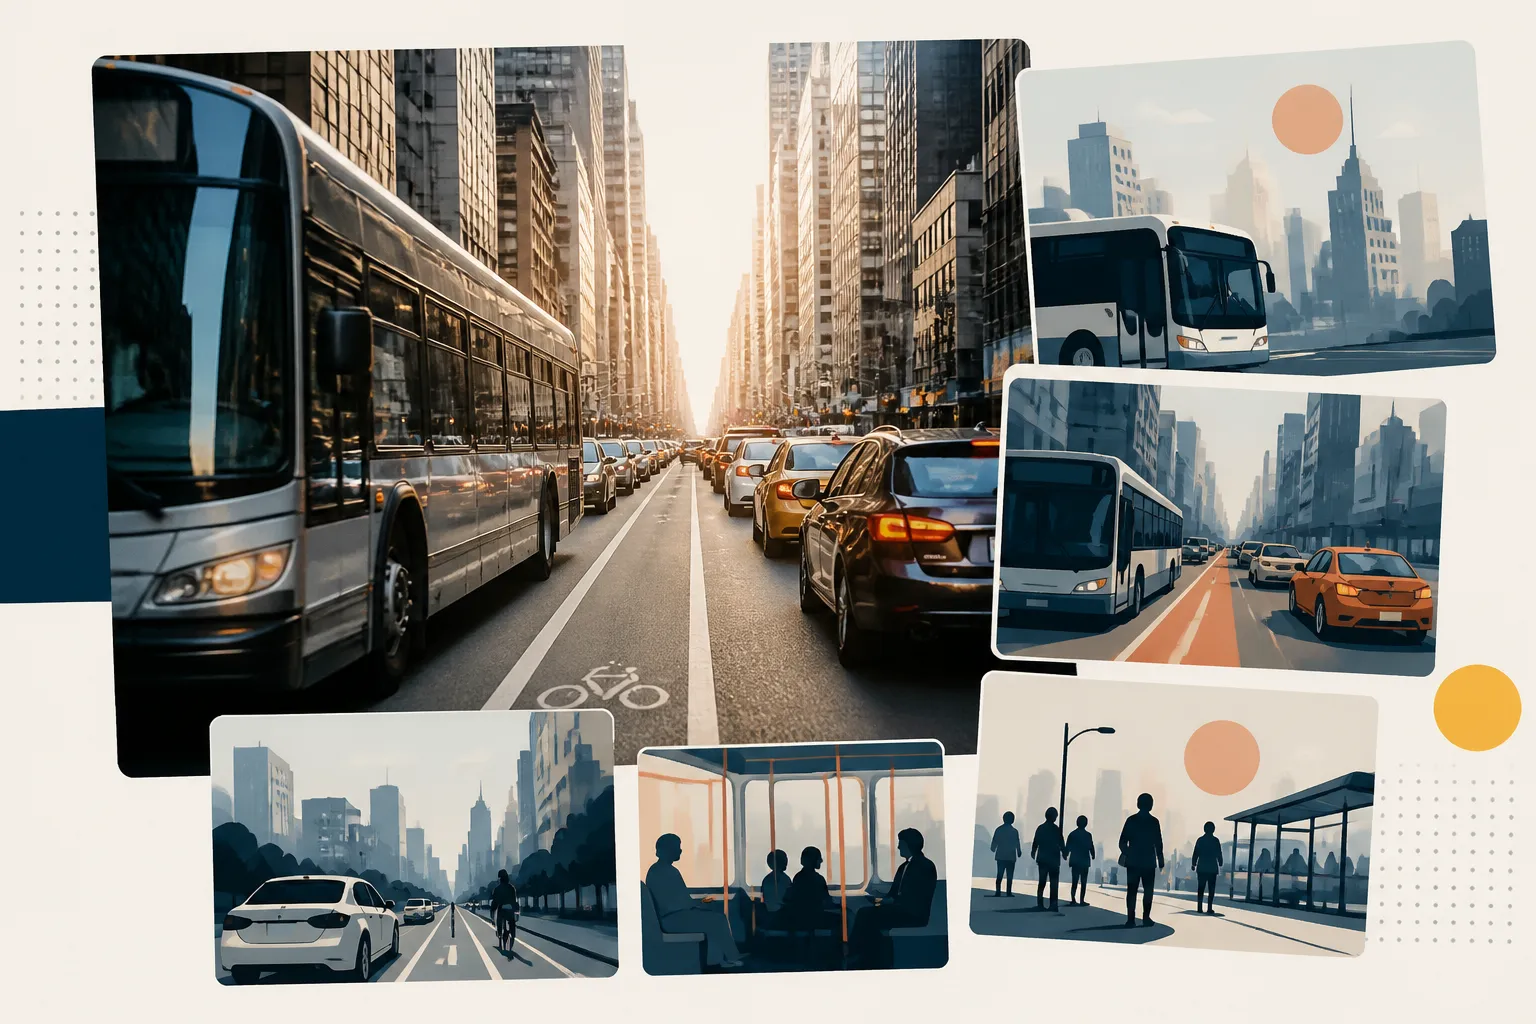
A photograph can become a useful video when the motion supports what the picture already shows. A gentle camera move can guide attention toward a room, an object, or a landscape. Large movements can expose missing information and cause the subject to change, so start with the smallest action that adds meaning.
This tutorial builds a short moving shot from an existing photo. You'll inspect the source, prepare an editing copy, request controlled movement, and review the exported clip. The aim is to preserve a recognizable subject while adding enough motion to make the image work in a video sequence.
What you need before you start
Choose a photo you own or have permission to adapt. Use the best available original rather than a screenshot of a compressed copy. Check that the subject is in focus, that important edges are visible, and that the picture has space around anything that must remain on screen.
Decide where the clip will appear. A vertical post may need more room above and below the subject than a wide page video. If you don't know the final format, make that decision now. Cropping after motion has been generated can remove the very detail you wanted to animate.
Step 1: Prepare a clean source image
Open a duplicate of your photo and inspect it at normal viewing size. An AI image editor online is one route to assess for cleanup or composition adjustments. Use its current available tools for a specific correction, then compare the saved result with the untouched original.
Prioritize changes that make the scene easier to understand. You might crop an empty edge, remove a small distraction where supported, or make a dark subject easier to see. Avoid changing the shape of the main object merely to make the picture look more dramatic. Any altered feature may become more noticeable when it moves.
Save a plain working image without captions or decorative borders. Text can warp when treated as part of the moving scene. Add exact wording later in your video editor, where it can remain sharp and editable.
Step 2: Request one restrained movement
Use the prepared image as the starting point for a free image to video attempt, after checking the page's current input requirements and conditions. Choose supported settings that match the intended placement. Begin with a short test rather than planning a full sequence around an unreviewed result.
Write the movement request as an instruction for the shot. For a room photograph, you might ask for a slow forward camera movement with furniture positions unchanged. For a landscape, you might ask for subtle cloud movement with a steady horizon. These examples are creative directions, not guaranteed controls or results.
Keep subject movement and camera movement separate in your thinking. A camera moving toward a still object is different from the object turning. If you ask for both at once, it becomes harder to locate the cause of a distorted edge or an unexpected change in perspective.
Step 3: Review the subject across the whole clip
Play the result from beginning to end before inspecting individual frames. Check that the original subject remains recognizable and that no important object appears or disappears. Then pause near the beginning, middle, and end to compare stable details.
For a room, inspect door frames, shelves, and the corners of tables. For a product, check its outline, label, and reflective surfaces. For a portrait, inspect facial proportions and accessories with particular care. A smooth camera movement cannot compensate for a changed identity or an inaccurate product feature.
Watch the background separately. It can seem harmless while moving but contain shifting lines or objects that distract from the subject. If several defects appear together, reduce the movement request and try a simpler shot. Don't keep adding instructions to rescue a composition that is too complex for the intended effect.
Step 4: Correct the input or reduce the motion
Choose the next action based on the source of the problem. If the uploaded photograph already has a distracting edge, return to the source image. If the photograph is clear but the generated move bends the object, keep the source and simplify the motion. This prevents unnecessary editing of a good original.
A tighter crop can remove distractions, but it can also leave less room for movement. Check the balance before uploading again. A subject that nearly touches every border gives the generator little surrounding context and leaves little flexibility in the final layout.
Use this simple decision table when reviewing a revision:
|
Visible problem |
First thing to try |
What to preserve |
|---|---|---|
|
Subject is too small |
Reconsider the starting crop |
Enough space around key edges |
|
Straight lines bend |
Reduce the requested movement |
The original geometry |
|
Extra objects appear |
Simplify the scene request |
Objects actually in the photo |
|
Important label changes |
Use a still hold or another shot |
Exact factual details |
|
Background distracts |
Clean the source where supported |
The main subject's outline |
Save revisions as separate files. Keeping both the source edit and its matching video lets you identify which input produced the best result.
Step 5: Build a short sequence around the shot
Place the accepted clip in an editor and decide what should come immediately before and after it. A moving photograph often works best as one part of a larger message. It can establish a location, introduce an object, or provide a quiet pause while a caption explains the next point.
Trim any weak frames at the edges. If motion takes a moment to settle, remove that opening rather than asking the viewer to wait through it. Check the last frame as well, especially if you'll cut to another shot with a different angle or brightness.
Add captions and other exact information above the video layer. Keep them clear of the subject's path. If the clip shows a real product, property, or event, review the wording and image together so the final piece doesn't suggest something the original photograph cannot support.
Step 6: Check the saved version on its destination screen
Export a draft and play the actual saved file. Inspect its crop, sound if present, caption timing, and overall clarity. A desktop preview may hide problems that become obvious on a small phone screen, such as tiny text or a subject positioned under interface controls.
Look at the video without pausing first. The motion should guide attention naturally. Then inspect the important frames again at a larger size. Both views matter: one checks communication, while the other checks visual defects that might undermine it.
Keep the untouched photo, prepared source, accepted clip, and editable project in a clear folder. Include the movement request in a short text note. That record makes it easier to create a related clip without guessing which version of the picture you used.
Tips that save time
Choose photos with a clear foreground and background when possible. Separation between the subject and its surroundings can make a modest camera move easier to read. A flat, crowded image may still work, but the motion direction should be even more restrained.
Treat realism as a project requirement rather than a visual style word. A dreamlike social post may tolerate an invented background detail. A property listing or product demonstration usually cannot. Define those boundaries before generating so you know when a visually pleasing result still needs to be rejected.
Plan a fallback that uses the photograph directly. A normal pan or zoom in a video editor may deliver the intended pacing without inventing motion inside the scene. If exact geometry matters, that can be the more predictable choice. The goal is a useful video, not the largest possible transformation.
Common mistakes
Over-editing the source is a common cause of poor results. Strong smoothing can remove textures that help a face or object remain recognizable. Heavy sharpening can add bright outlines that become distracting in motion. Judge cleanup at the final viewing size and stop when the image is clear enough for the shot.
Another mistake is assuming that a moving image is documentary evidence. A generated camera move can reveal invented space beyond what the original photo records. For factual uses, avoid shots that imply a verified view of hidden surfaces or a real event that wasn't captured.
Repeated regeneration without notes also wastes effort. Keep a brief record of what changed and why you accepted or rejected the result. You don't need a long report, just enough information to avoid testing the same unsuccessful request again.
Wrapping up
Pick one clear photo and decide what motion would help the viewer understand it. Prepare a careful copy, generate a restrained test, and inspect the subject throughout the clip. If essential details drift, simplify the movement or use the original still. The strongest result is the one that adds attention without losing the reason you chose the photograph.
Comments (0)